(Click on the thumbnails for high-resolution image. Use the BACK button of your web browser to go back to the HOME page)
I started the install by digging up a trench for the conduit in my backyard. The trench was about 100 feet long, 1 foot deep and just wide enough to fit the 1.5 inch pipe. The whole process was labor intensive and rather unpleasant :-) but it was a good exercise for someone who spends days sitting on a desk. Initially I was going to rent a trencher from the local Home Depot but then I realized that the trench was going to go very close to the side of the house - closer than I was able to do with trencher so I opted for manual labor.
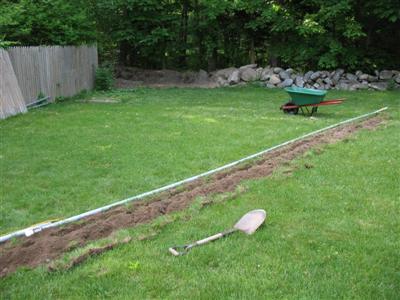
Part of the trench with the electrical conduit laying next to it.
In my opinion it is not a good idea to bury the cable directly even if it is rated for direct burial. There are all kinds of underground critters - moles, woodchucks, field mice - all ready to chew on cables. If the outer jacket of a coaxial cable is broken and the cable is buried under ground, water will soak the whole run of the cable, rendering it useless. The 12 wire control cable from SteppIR is not even rated for direct burial nor SteppIR recommends it- it has very thin PVC outer jacket. The 1.5 inch grey electrical conduit from Home Depot will fit 2 runs of LMR-600 and a few more control cables but one can go with even larger diameter.
There are two camps when it comes to burying cables under ground - some people recommend using a drain pipe with holes as conduit and allowing water to come in and drain out. While I can see the logic, water coming into a pipe will always cause accumulation of soil and debris and then this mixture will retain moisture. I decided to completely seal the conduit - when done properly, no water should be able to get inside and if the ends are also air-tight sealed, moist air can't come in and condensate inside as well. I laid down the conduit, gluing each section. I used the PVC cement sold for this type of conduit, applying it to both - the outside of one pipe and the inside of the other, then inserting the pipe and rotating it half a turn to distribute the glue evenly. The PVC cement requires very quick action - the whole process should not take more than 20 seconds and the joint should not be disturbed for about one hour. Primer is not needed - it is glue and primer all-in-one.
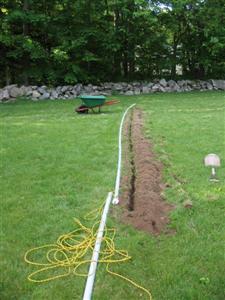
While gluing each section of the electrical conduit I was feeding thru a nylon rope. I later used the rope to pull the cables thru the conduit.
I used 2 lengths of rope so while I was pulling the cables with one length I also pulled inside the second length which I left in the pipe along with the cables to assist future cable pulls.
I used 45 degree elbows to bring the pipe in and out of the ground and also to change direction. LMR-600 is a very stiff cable and 90 degree elbow might create some difficulties during the pull.
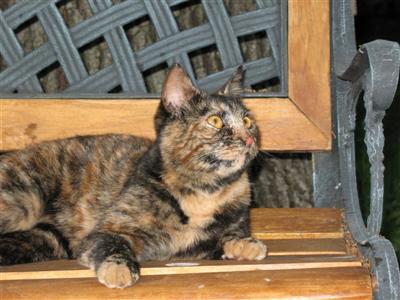
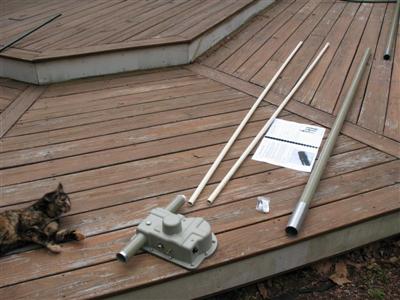
While working in my back yard I had a furry helper - Spotty - the Ham cat. Spotty was checking out my work and was making sure that I am not disturbed by chipmunks and birds.
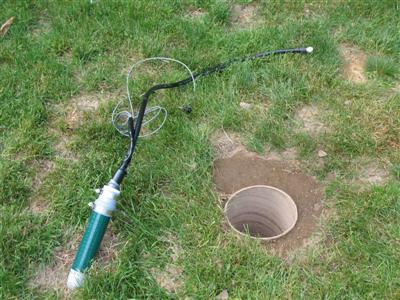
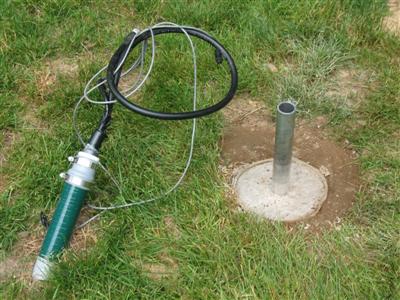
A trip to the plumbing department of the local Home Depot produced some PVC fittings and rubber boots to seal the ends of the conduit and create a feed-thru for the cables. Later on I used electrical tape and self-fusing silicone tape to seal the fittings air-tight around the cable. Green PVC tape was used to dress the conduit for decorative purpose. The 12 wire control cable was spliced in 3 sections. Each section is a 4-wire shielded cable - one with the special weather-proof connector for the antenna, one with the 4 wire lugs for the 80 meter coil and one for future use.
This picture shows also the concrete form tube, buried about 2 feet in the ground. Some gravel was placed on the bottom to help the drainage.
Here is the aluminum base tube set in high-strength concrete. I centered carefully the tube section and with the help of my wife and a level. I was able to position the tube perfectly straight, while pouring the concrete. I had to hold the tube for awhile adjusting it slightly before the concrete completely cured.
This step is critical for a straight antenna installation! I am happy with the way it came out - my antenna is perfectly straight in any direction.
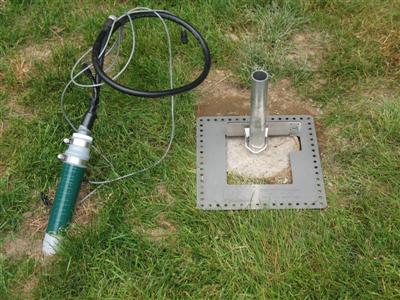
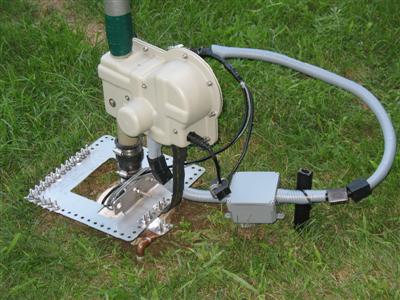
Picture of the antenna base with the radial plate from DX Engineering. This is a very nice, high-quality radial plate which is also very functional! It is made of stainless steel, including the radial attachment hardware. I strongly recommend it! It makes the installation of the radials very easy and neat looking too!

This is the content of the large box along with some tools needed for the assembly. Two fiber-glass extension tubes with aluminum sleeves at the ends, 2 x 3/4 inch PVC element liner tubes (located inside of the two fiber-glass tubes) and the dark green 3-section telescopic pole.
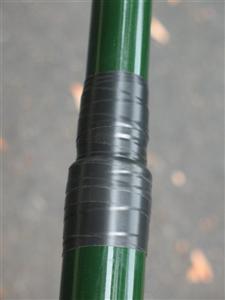
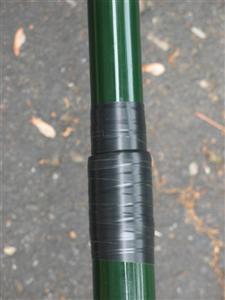
The green telescopic pole needs to be extended to a specific length and each joint should be sealed with electrical tape and a layer of self-fusing silicone tape on the top of the electrical tape. I added an extra layer of Scotch Super 88+ tape over the silicone tape to keep it from UV exposure.
The BigIR is ready for assembly. The two white PVC tubes are to be glued together and to the EHU with the provided glue kit. There is a coupler pre-installed on one of the tubes and another coupler on the EHU.
Those tubes serve to guide the antenna element thru the larger diameter fiber-glass extension tubes.
In the next step the two fiber-glass extension tubes are slid over the white 3/4 inch PVC guide.
Spotty is observing the assembly process making sure that I am not missing something.

On this picture the fiber-glass tubes are installed and taped to the EHU. The green telescopic pole is waiting to be fitted onto the second extension tube.
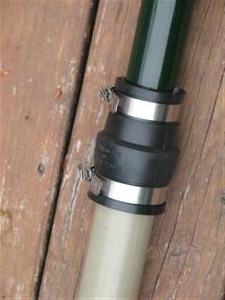
Rubber boot with stainless steel clamps is securing the telescopic pole to the extension tubes.
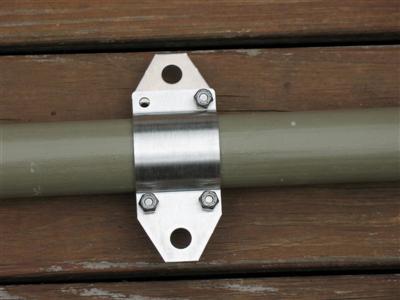
This is the aluminum guy wire bracket mounted at 11 feet from the EHU. 3 guy ropes at 120 degrees are attached to the bracket after the antenna is installed and the ropes are secured to anchor points on the ground.
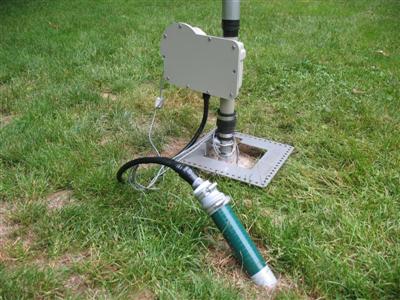
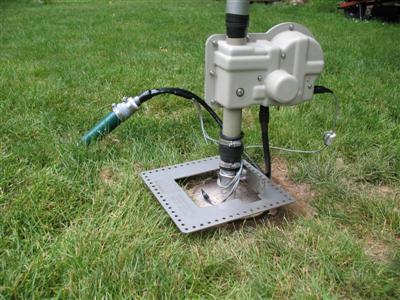
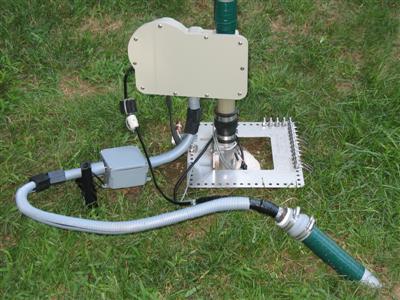
The base of the antenna with the EHU and the radial plate ready to accept ground radials. All cables are attached and all connectors are weather-proofed with silicone tape.
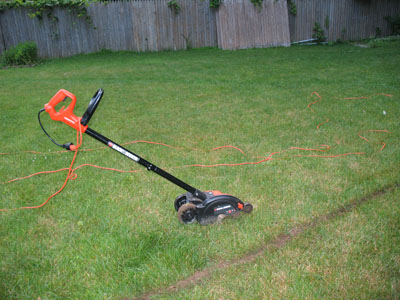
The best friend of anyone installing ground radials - Black & Decker Edge Hog. This cool piece of machinery is inexpensive and makes burying radials a snap - it digs tiny trench in the ground up to 1.5 inch deep and about 1/4 inch wide - perfect for radial wire.

Some radials are being installed (16 on this picture) - the length varies from 32 feet up to 70+ feet for the longest ones. I am planning to install about 60 radials. For the radials I am using AWG #14 solid copper insulated wire from Home Depot.
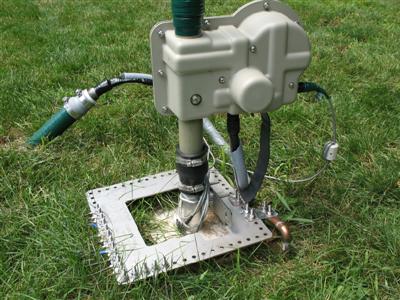
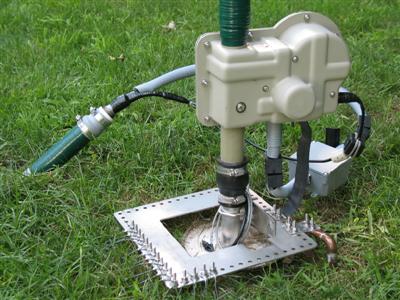
16 Radials and counting... The lugs of the radial wires are crimped, soldered and then attached with stainless steel hardware. Note the wide tinned copper strap connecting the ground screw of the EHU to the radial plate. RF likes smooth surface. This connection adds to the electrical length of the antenna and must be kept under 12 inches. A second such strap connects the radial plate to the ground rod of the system (7' copper pipe). The grey plastic jacket on the coaxial protects it from UV and critters.
Final Installation!!! The choke is installed in line and some more additional ferrite beads are installed on both - the LMR-600 main coax and the short LMR-400 jumper. There are also ferrite beads on the control cable. The cable and the choke are provided with additional stress relief.
All cables are covered with plastic shield to protect them from the UV and garden critters. All connectors are water-proofed and taped with a layer of 3M Scotch 88 electrical tape, second layer of silicone self-fusing tape and yet third layer of electrical tape.
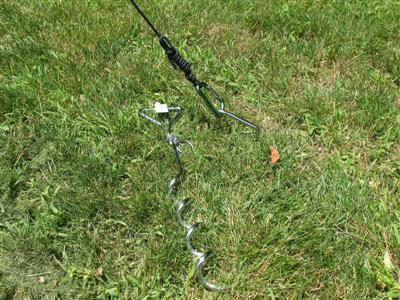
This picture shows one of the anchor points for the guy ropes. I used Dacron rope and cork-screw type of tie-out from Home Depot
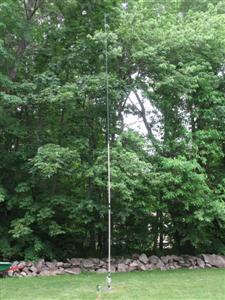
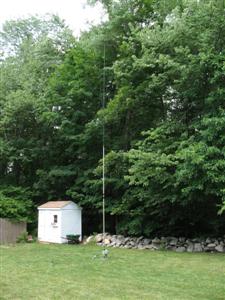
Overall look of the ground level mounted BigIR.
for questions and comments about this article - ae1s AT arrl.net